
Decorative Acoustical Ceiling Panels
Acoustical ceiling panels are more than just sound controllers. They can also be added to enhance the aesthetics of an entire room. They can be installed according to a specific design theme. Designer acoustic tiles, when installed correctly, can deliver eye-catching results that maximize both form and function.
The Benefits Extend To More Than Just Acoustics
You might have seen acoustic ceiling tiles (ACT) in corporate buildings as white square panels installed like grids on a ceiling, some with traditional dots, similar to a style that has been in circulation since the 80s and 90s throughout corporate environments. However, more stylish versions of these ceiling panels have come a long way from that traditional look. These days, acoustic ceiling tiles can also be used to maximize the design potential of a dropped ceiling.
A drop ceiling creates a plenum space which helps facilitate inspection and maintenance work. They help conceal piping, HVAC, electrical wiring, and other relevant systems while helping to house lighting, plus most brands are fire rated. In contrast, structures that usually showcase industrial design themes don’t use dropped ceilings and simply expose these systems.
Acoustical ceiling panels cover these dropped ceilings while diffusing sounds within the space it covers. They help reduce echo to make sound clearer and crisper, which is a useful feature among meeting rooms. They’ll also soften the noise and prevent it from carrying into offices next door. Acoustic ceilings can also help with room insulation, thereby providing additional warmth
during winter season and cooling during the summer season.
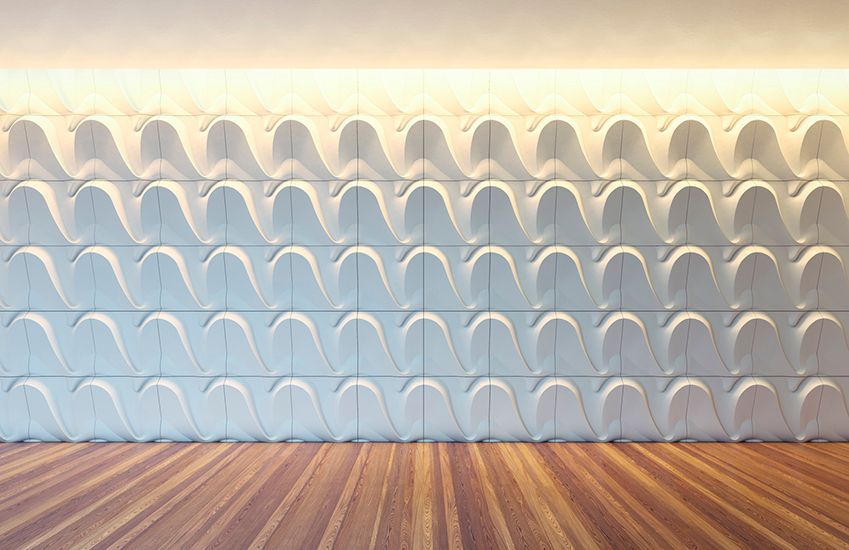
Because of its many uses, modern designs have adapted for new, attractive ceiling panels. They can be customized and patterned accordingly. In some cases, they can become a canvas where a ceiling’s interior design comes to life.
Are there modern alternatives to traditional acoustic
ceiling tiles?
Designer acoustic tiles use a variety of modern materials that allow them to become customizable and adaptable to various design ideas. Among the most popular alternatives to traditional acoustic ceiling tiles are sustainable and eco-friendly PET tiles and gypsum tiles. These materials are available in various textures and colors and can be customized to you liking.
PET tiles are made from the same component as recycled water or soda bottles. Since PET tiles do not contain organic materials, they are considerably durable as they are not prone to degradation over time. They are also quite easy to maintain and would pair well with cleaning mixtures that can be used with plastic materials. The inherent materials of PET tiles also make them conducive to absorbing sound so they need no additional treatment to use them for acoustical purposes. They can be furnished in specific designs and specific colors. PET tiles can be used as a ceiling centerpiece in commercial spaces such as coffee shops and lobbies, as well as in corporate meeting rooms and restaurants.
Like PET tiles, gypsum boards are also made of mostly inorganic materials which make them more able to withstand natural degradation. Gypsum tiles are also widely used for their fire resistant properties, making them the perfect choice alongside fireproofing systems. Most gypsum tiles come embossed with designs, allowing them to become statement pieces in rooms where there is plenty of foot traffic such as hallways, lobbies, and reception areas.
Then there also felt forms also being used as designer acoustic tiles. They are typically made from the same PET fibers as PET tiles, only more textured. Felt tiles lend a sleekness to rooms, making them a good choice for modern corporate offices and rooms with modern chic design themes. Due to their ability to diffuse sound and absorb bass, this type of modern acoustic tile is perfect for rooms that require soundproofing such as mini theaters, game rooms, and audio recording rooms.
All of the above mentioned modern acoustic tiles are lightweight and relatively easy to install. They can be conveniently swapped in case a section or a specific tile needs to be repaired. However, due to their flexibility in terms of use case and design adaptability, they tend to run at a higher cost than traditional acoustic tiles.
Tampa ACT Design Choices
We are able to source various styles or you can also look around online for options that will enhance your room by making it look as though you spent a lot more on a custom ceiling than you actually did.
Art Deco patters are available that use the diamond shape to repeat on the corners so the square-shape disappears or is at least rotated at a 45 degree angle to spice up the pattern. There are brands that make tiles which look modern and others that use classic, old-world shapes. Both are available in systems that can be inserted in place of your panels or attached to your panels. In order to understand the nuanced options, we will look at your space, the condition of your existing system, and listen to what kind of style you’re trying to add.
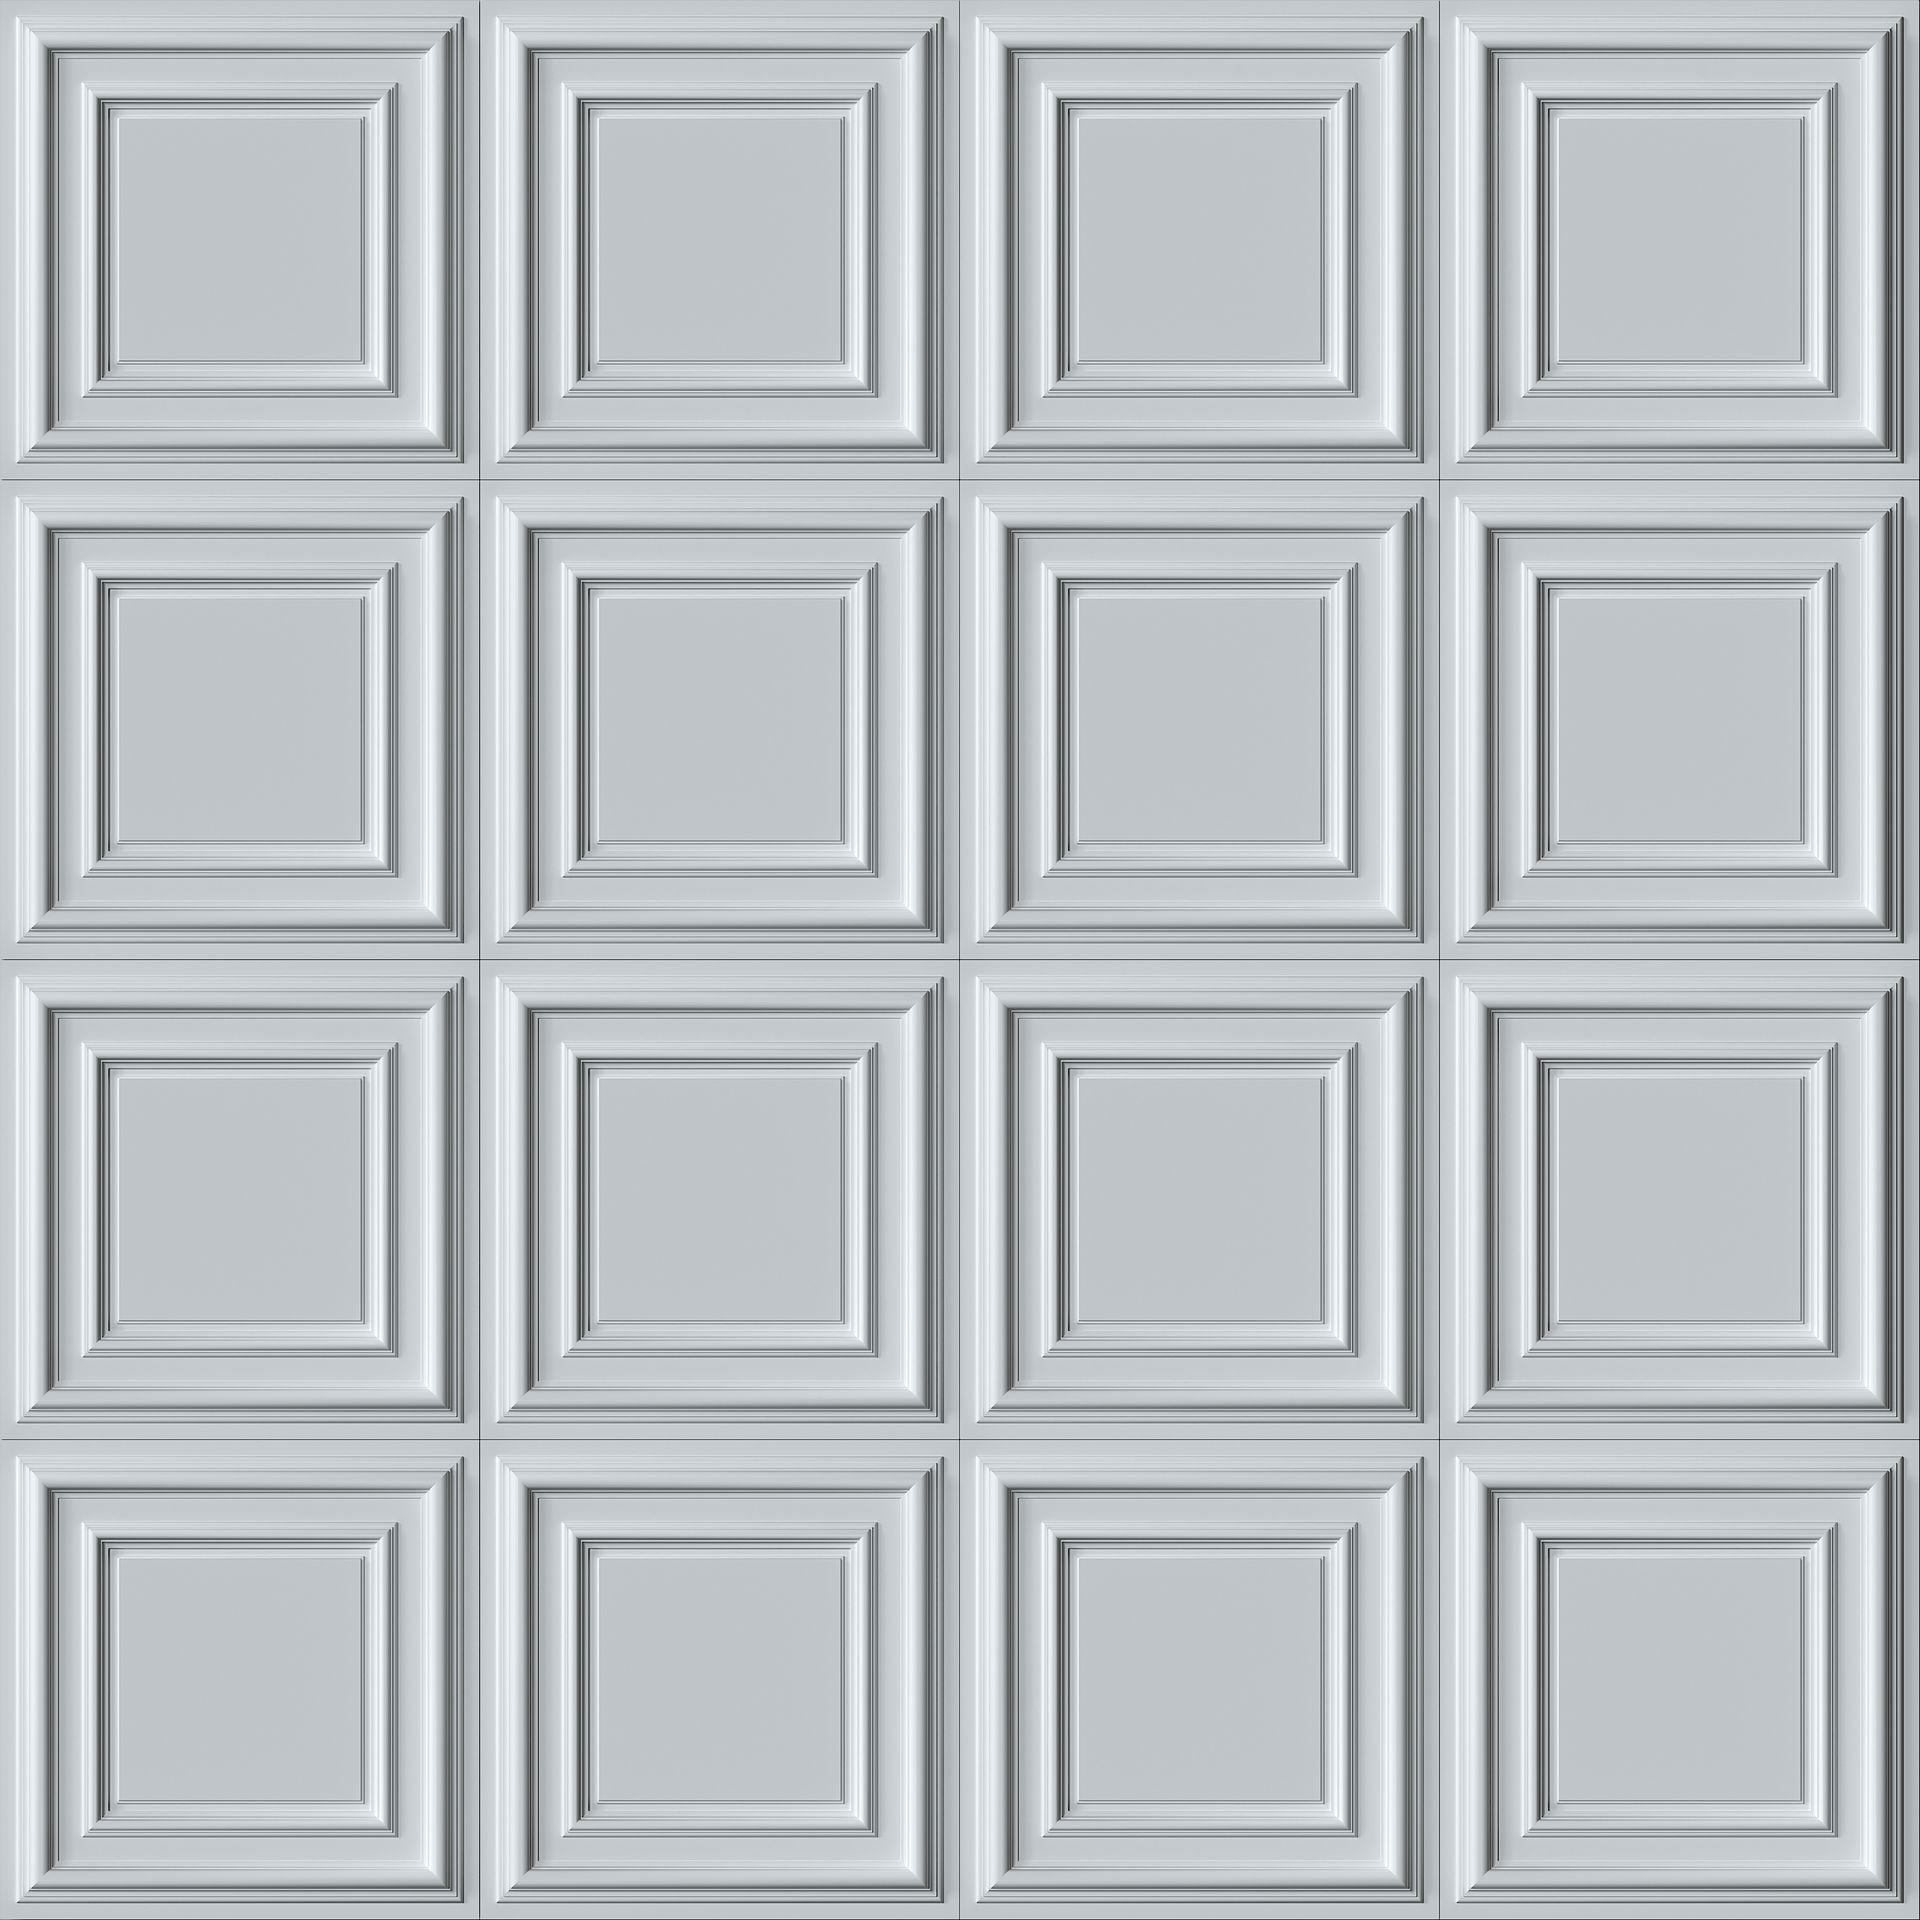
If your existing ACTs are in good shape, we can look for a stylish addition that adheres to your existing panels. The most common designs will work in a square pattern, but because we have the ability to cut the decorative ceiling tiles, we may be able to find a pattern that works in a rectangular grid. Let us take some measurements and understand the look you’re trying to achieve so we can see if we can pull it off.
Some historic buildings have tin or copper ceilings in rooms and there are now tiles designed to mimic this look using ornate embossed designs that you cannot tell are faux replicas from the floor. Some even come in multiple hues so you can get an effect of gold, silver, or a distressed, weathered look that’s as good as the real thing.
How easy are decorative ceiling tiles to install?
Before starting the acoustic ceiling tile installation, it is a must to ensure that the ceiling space follows approved building code specifications. Designer acoustic tiles can be installed in standard-sized dropped ceilings using its corresponding ceiling grid. Ideally, protrusions such as sprinklers, lights, and vents must already be installed prior to acoustic tiles as the latter is more adaptable and easier to fix within its allotted space.
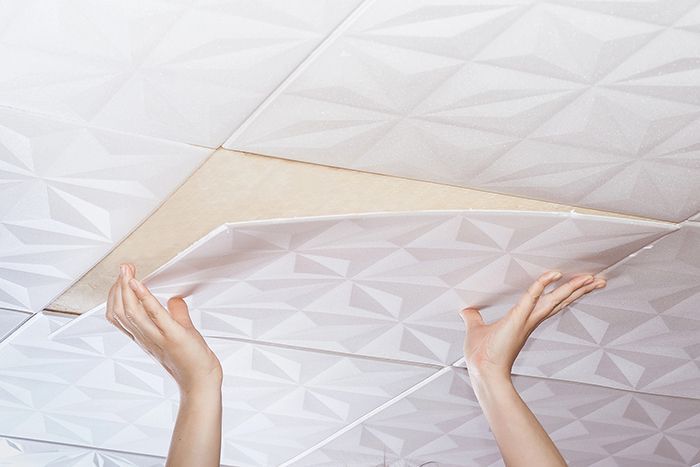
Acoustic ceiling panels are often easy to insert because they just rest within the ceiling grid. The same process of installation is generally applied even to decorative ceiling panels after they are glued or taped onto the ceiling panels. The following steps gives you a general idea on how acoustic tiles are installed on a ceiling grid:
While all these may seem relatively easy, and something that you can take on as a personal project, our team of experts can also help simplify the entire process for you. By working with us, you can focus more on how you would like to design your ceiling area and let us know how you would like to dress it up with other possible attachments.
Whether you are planning on a design theme or a specific look and feel to adapt to your ceiling area, we can help you source the appropriate accessories to help dress up your acoustic tile panels. On top of tile installation, we can also assist you with painting requirements, attaching decorative ceiling molds and medallions, or help you achieve that classic coffered effect.
Lastly, if you find it difficult to figure out which type of stylish ceiling panels would best fit your allotted ceiling space and purpose, we can also guide you towards making the right decision.
Get a free quote
Tampa Drywall Contact Form (ACI)
TALK TO A TEAM MEMBER TODAY >
Serving Tampa, Ybor City, Tampa Heights, Seminole Heights, Belmont Heights, New Tampa, Hyde Park, Westshore, Beach Park, Palma Ceia, Downtown Tampa, Riverside Heights, Ballast Point, Cory Lake, Isles, Arbor Greene, Bayshore Beautiful, Harbour Island, Sunset Park, Davis Island, North Tampa, West Tampa, Virginia Park, Bayside West, Fair Oaks, Manhattan Manor, Sun Bay South, South Tampa, MacDill Air Force Base, East Tampa, Drewspark, Wellswood, Lowry Park North, Avila and more.
However, the neighborhoods of Tampa are not the only place our team travels. We help clients in the regions listed here as well and many others
Brandon | Riverview | Plant City | Lakeland | Seffner | Winter Haven | Zephyrhills | Oldsmar | Town 'N' Country | Citrus Park | Odessa | Lutz | Temple Terrace | Carrollwood |
Westchase | Safety Harbor | Clearwater | St. Petersburg | Palm Harbor | Tarpon Springs | East Lake | New Port Richey | Bradenton and more

813-590-4048
502 S Fremont Ave, Unit 630, Tampa, FL 33606